Because Gaffer is a procedural system, modifications to objects are made by applying nodes to the scene, using filters to determine which objects within the scene are affected by a particular node. Commonly a PathFilter is used to select all the objects whose names match a particular pattern, similar to the way pattern matching is performed in a Unix shell. For example, /world/octopi/*/*Eye would select all the eyes of any cephalopods that might be lurking in the scene.
Although this pattern matching can be powerful, it does rather keep you at arm’s length from the objects by referring to them by name rather than visually. And it can be a bit of a pain to have to create two nodes to have anything happen – first the node to do the work and then the filter to apply it.
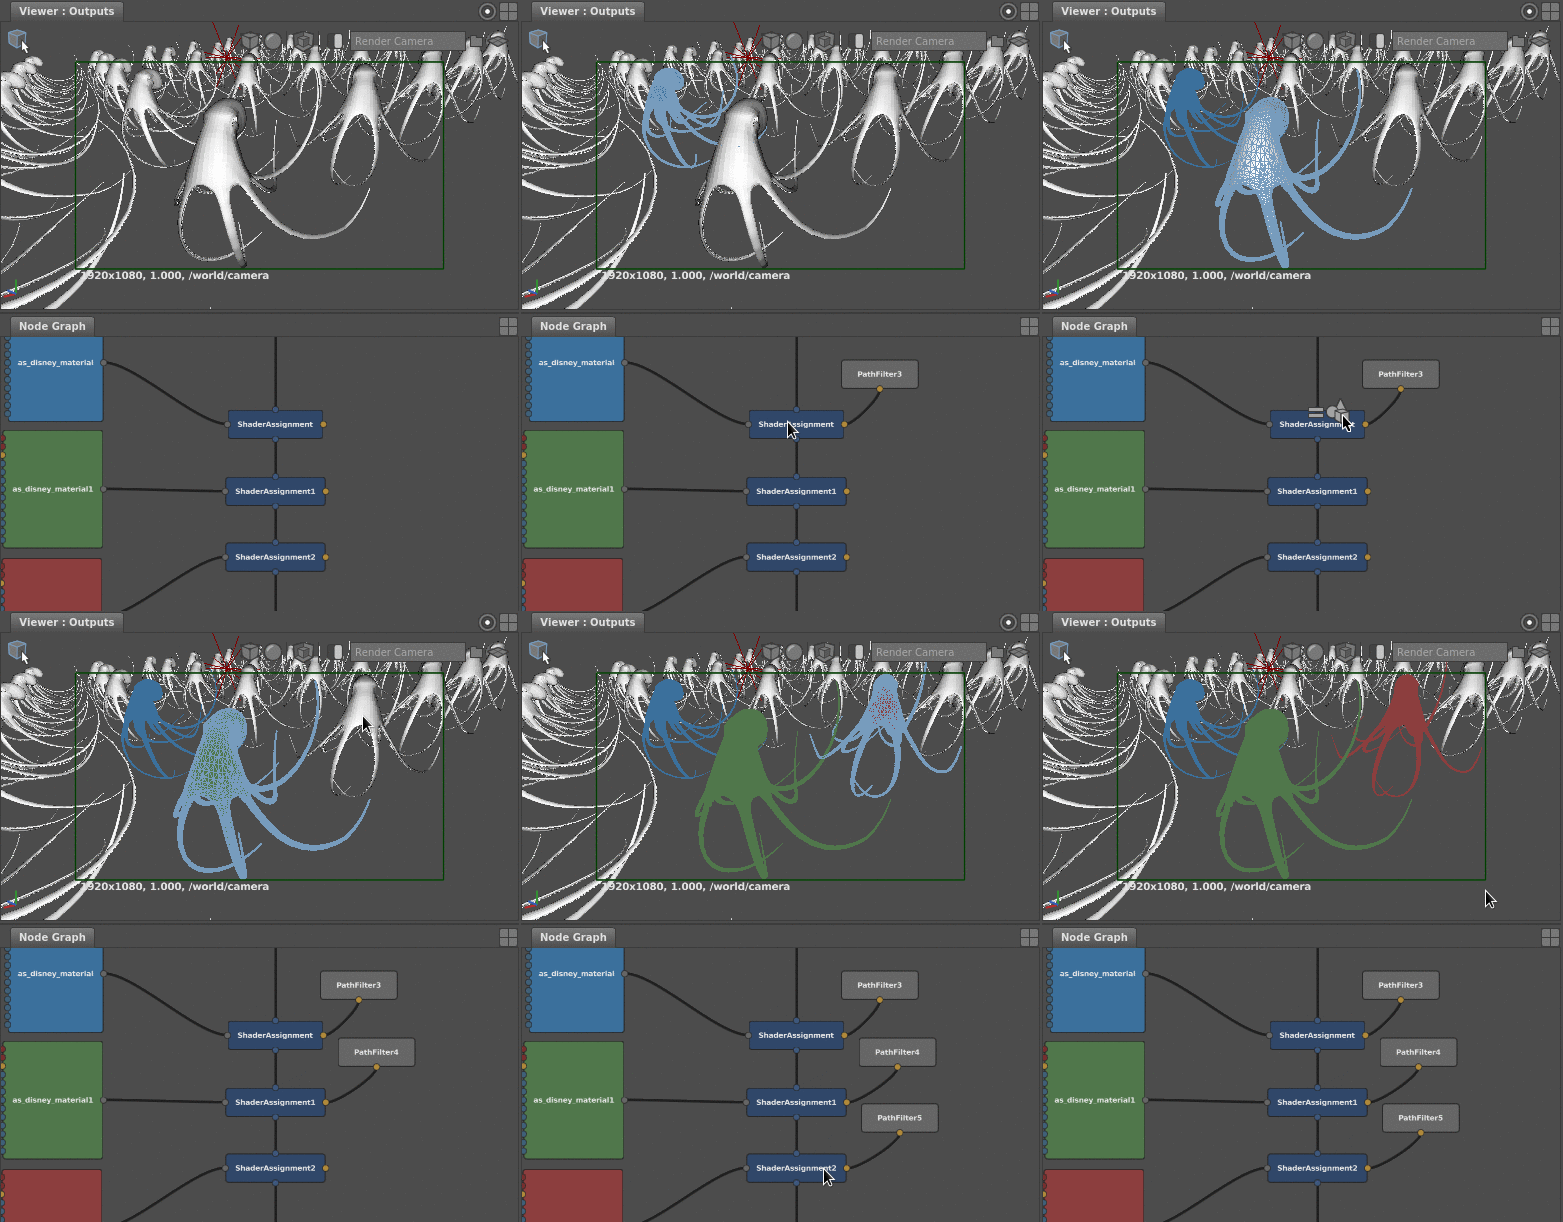
That’s why it can often be handier just to drag objects straight out of the viewer and onto a node to make an assignment all in a single gesture. In the example below, we already have three ShaderAssignment nodes but they don’t currently apply to anything. When objects are dragged from the viewer and dropped onto the nodes, a PathFilter is created automatically and set up to apply to the object in question.

By default, the filter is set up to apply to only the dropped objects, but Shift-drag and Ctrl-drag can be used to add and remove from the current filter as well.
Of course, this doesn’t only work for ShaderAssignments – you can drop objects onto any node that supports the use of filters. In fact the use of drag and drop is common throughout Gaffer – here are few other spots you might find it handy :
- Dragging objects from the SceneHierarchy rather than the Viewer.
- Dragging into the NodeEditor to drop onto the paths fields for a PathFilter directly.
- Dropping onto a Set node within the NodeGraph to add or remove objects from a set.
- Dragging a camera from the Viewer into the camera field in a StandardOptions node.
